
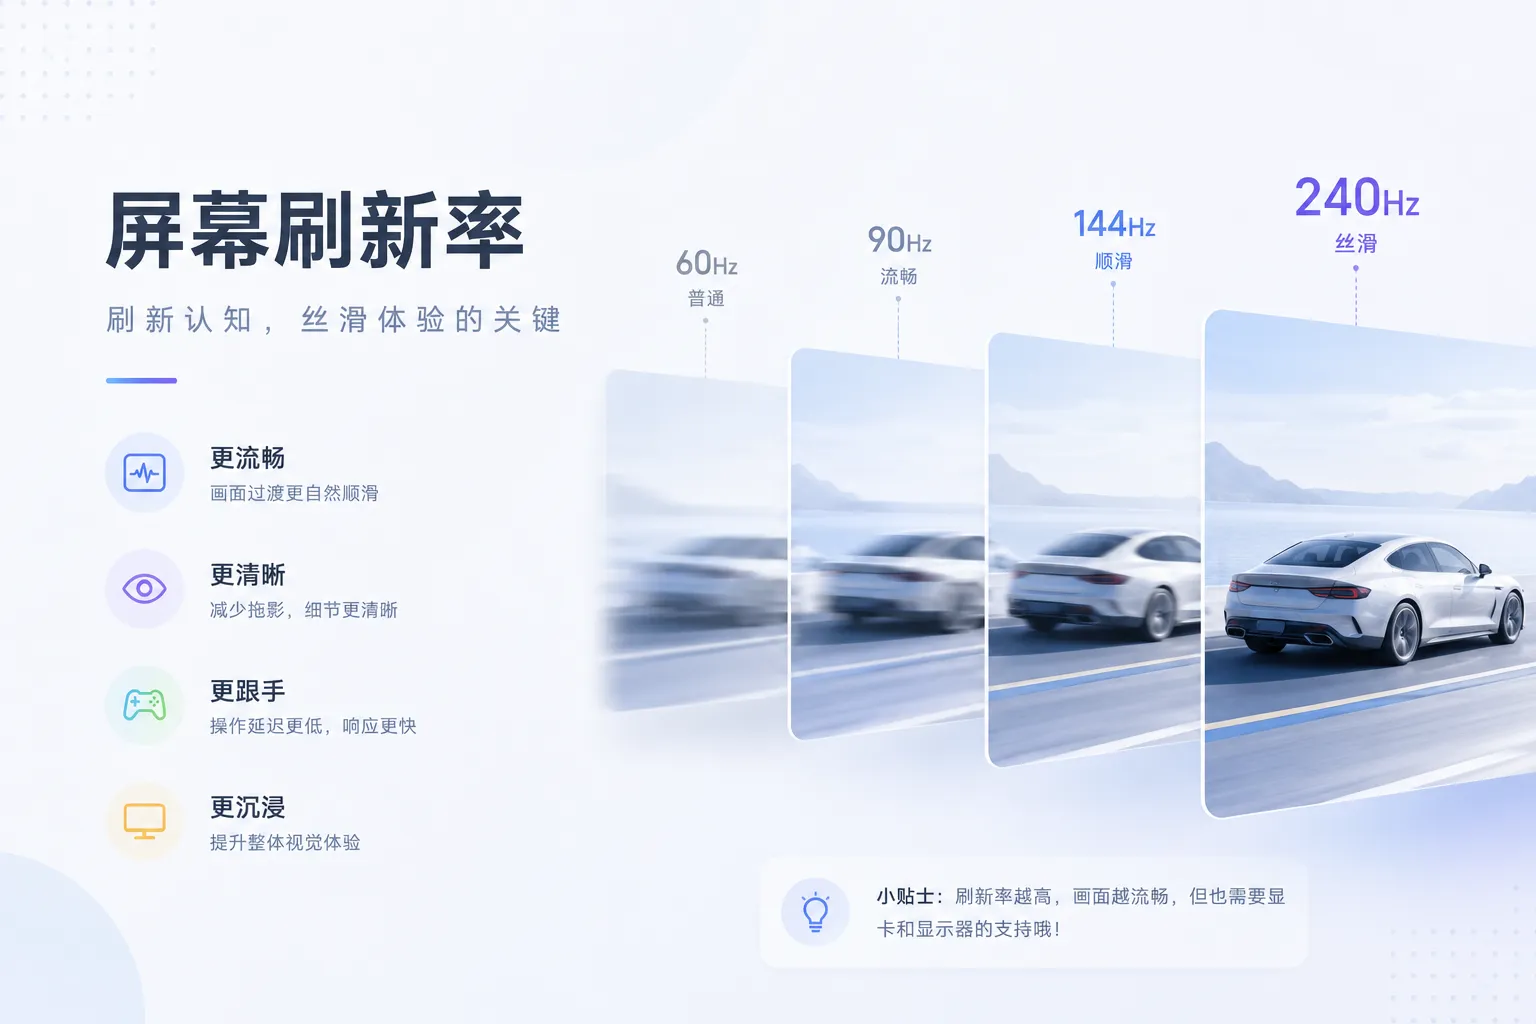
When you buy a monitor, the seller's page screams "144Hz," "165Hz," or even "240Hz." You pay, plug it in, turn on the computer—then what? Have you ever actually verified that it's hitting the number you paid for?
I never used to care about this until I was gaming at a friend's place and something felt off. He told me he'd just upgraded to a 144Hz display, but to my eye it looked barely different from the 60Hz office screen at work. We opened the system settings: Windows was still faithfully locked at 60Hz. He'd been using it for three months without noticing a thing.
That's why this tool exists—Screen Refresh Rate Test. No software installs, no account signups. Open it in your browser, and within seconds you'll know exactly how many Hz your monitor is actually running at.
What Exactly Is Refresh Rate?
Refresh rate is how many times per second your monitor updates the image on screen, measured in Hz (hertz). 60Hz means 60 refreshes per second; 144Hz means 144. Simple enough, but people often confuse two concepts: refresh rate and frame rate (FPS) are not the same thing.
Refresh rate is a hardware ceiling—the maximum number of frames your display can physically show per second. Frame rate is software output—how many frames your GPU, game, or browser can render per second. These two numbers are independent of each other.
For example: you're running CS2 on an RTX 4090, and the graphics card is pumping out over 400 frames per second. If your monitor is only 60Hz, your eyes still only see 60 of those frames each second. Conversely, you've got a 240Hz esports monitor but an ancient GPU that can barely manage 40fps—the picture will still stutter, and 240Hz won't help.
So the sweet spot is: frame rate ≥ refresh rate, so neither side is wasted.
Why Your Monitor Isn't Running at Its Full Potential
This happens all the time. I've met plenty of people who spent good money on high-refresh displays and then used them at 60Hz for half a year. The reasons are varied:
System settings never changed. After a fresh Windows install, the default is usually 60Hz. You need to manually go into "Settings → System → Display → Advanced display settings" and select the refresh rate you paid for. Many people never knew this step existed.
The cable is the bottleneck. This is the most common trap. An HDMI 1.4 cable at 4K resolution can only manage 30Hz; to go above 60Hz you need HDMI 2.0 or higher, or better yet, DisplayPort 1.2+. People often toss aside the cable that came with the monitor, grab an old HDMI cable, plug it in, and the system automatically drops the refresh rate because of insufficient bandwidth.
Adapter gremlins. HDMI-to-DVI, USB-C-to-HDMI, and similar adapters often only support 1080p 60Hz. Every extra adapter in the chain introduces a potential bottleneck.
Power-saving modes. When a laptop is running on battery, the system may disable the dedicated GPU to save power, switching to integrated graphics output and automatically dropping the refresh rate to 60Hz. Plug the charger back in, and it jumps right back up.
Mixed refresh rate multi-monitor setups. When you mix screens with different refresh rates, Windows' Desktop Window Manager (DWM) runs at the rhythm of the highest-refresh monitor, but frames rendered to the lower-refresh displays may get partially dropped. Worse still, older GPU drivers had bugs in mixed-refresh scenarios that pulled all screens down to the lowest common refresh rate. If your external high-refresh monitor doesn't feel right, try disconnecting the other screens and testing it alone.
Background tab throttling in the browser. This directly affects our online tool—Chrome and Firefox forcibly throttle requestAnimationFrame callbacks to about 1fps for background tabs, and visible but unfocused tabs often get capped around 30fps. So when testing, always keep the test tab in the foreground and, preferably, in full screen.
How This Tool Actually Measures
The principle isn't complicated, but it's more than just randomly averaging numbers.
Browsers provide an API called requestAnimationFrame (rAF for short). It executes a callback you specify right before the next screen repaint. The key point: rAF's trigger frequency synchronizes with the display's refresh rate. So if your monitor is 144Hz, the browser will fire roughly 144 rAF callbacks per second; if it's 60Hz, about 60.
What the tool does is straightforward: record the timestamp of every rAF trigger, take consecutive chunks of 10 frames to approximate an FPS, then collect a few hundred frames' worth of statistics and map the average to the nearest common refresh rate—60, 75, 90, 120, 144, 165, 180, 200, 240 Hz.
But here's a detail worth noting: why run the test for at least 3-5 seconds?
Because frame interval jitter is huge in the first few hundred milliseconds. When the browser just kicks off the render loop, the JS engine, GPU compositing, and garbage collection (GC) are all busy, making frame times unstable. Run for 3 seconds or more, and the data converges to the real value. That's also why the tool includes a dedicated FPS history chart—you can visually see the frame rate stabilize from fluctuating. If after 10 seconds the curve is still jumping around, you likely have a system-level problem.
What Each of the Four Test Modes Is Good For
Sometimes a single FPS number isn't intuitive enough, so the tool offers four visual test modes:
Bouncing Ball mode: A small ball moving at high speed and bouncing off edges on a black background. Why a fast-moving object? Because it best exposes the display's response time and motion clarity issues. On a 60Hz screen, the ball leaves a pronounced ghost trail and moves in obvious jumps; at 144Hz and above, the edges are much sharper and the trajectory smoother. If your monitor claims a 1ms GTG response time but the bouncing ball smears heavily, your panel's Overdrive (OD) setting is probably too high, causing inverse ghosting.
Scrolling Bars mode: Simulates the experience of scrolling through web pages or documents. I'd recommend everyone try this one—on a 60Hz display, the bars stutter badly, and the text is practically unreadable as it moves. At 120Hz and above, even when the bars scroll fast, you can still make out the edges of each color block clearly. This is why people say they can't go back after using MacBook Pro's ProMotion (120Hz). It's not just hype.
Flicker Test mode: Alternates between black and white, inverting each frame. This mode primarily detects PWM (pulse-width modulation) dimming issues. Many OLED screens use PWM to control brightness at lower levels, and low-frequency PWM (below ~240Hz) can cause eye strain and headaches in sensitive users. If you see obvious "scrolling stripe" effects instead of pure flicker in this test, your screen has a visible PWM problem.
UFO Test mode: A simplified version of the classic UFO Test, simulating multiple rows of horizontally moving objects. This mode is the best at exposing screen tearing. If you see objects "cut in half" with a horizontal misalignment—congratulations, your VSync is off, or you're using FreeSync/G-Sync with incorrect settings.
A Small Note on Variable Refresh Rate (VRR)
G-Sync and FreeSync are everywhere now, but plenty of people treat their VRR monitors as plain old screens without ever configuring them.
In a nutshell: VRR lets the display dynamically match its refresh rate to the GPU's output frame rate. Say you're playing a demanding AAA game and the frame rate fluctuates between 80 and 100fps—a VRR screen will adjust between 80–100Hz on the fly, so you get no tearing and no stutter.
But VRR has an operating range. For example, a FreeSync display might work between 48–144Hz. When the frame rate drops below 48, FreeSync kicks in LFC (Low Framerate Compensation), repeating frames to keep the refresh rate up. If you run the Bouncing Ball mode and see the FPS curve suddenly flatten around a specific value (say, 48), LFC is likely doing its job.
And one more thing: G-Sync and FreeSync usually need to be manually turned on. You need to enable G-Sync in the NVIDIA Control Panel (or FreeSync in AMD's software) *and* enable Adaptive-Sync in the monitor's onscreen display menu. Miss one of those three switches, and it simply won't work.
What Do Real Test Numbers Actually Tell You?
I ran the test on a few of my own devices. Here's some real data:
Office desktop + standard 24-inch office monitor: Steady 59.8–60.2 fps, estimated 60Hz. The bouncing ball had obvious ghosting, and the scrolling bars lacked detail. This is expected—a standard 60Hz IPS panel with around 5ms response time.
Home gaming desktop + 27-inch esports monitor: Rock-solid 143–144 fps, estimated 144Hz. Silky smooth bouncing ball, no tearing on the UFO test. Connected via DisplayPort, NVIDIA Control Panel set to 144Hz with G-Sync enabled.
M1 MacBook Pro 14-inch built-in display: Steady 119–120 fps, estimated 120Hz. Apple's ProMotion is adaptive, but with the browser in the foreground in full screen it basically sat at the 120Hz ceiling. Scrolling Bars felt superb.
Certain brand laptop + external 165Hz portable monitor (single USB-C cable): Test showed only 60Hz. After some digging, I found the USB-C cable only supported USB 3.1 Gen1—insufficient bandwidth for DP Alt-Mode to push beyond 1080p 60Hz. Swapped in a full-featured cable supporting DP 1.4 Alt-Mode, and it instantly hit 165Hz.
An old 75Hz office display: Hit 75Hz fine, but the Flicker Test revealed clear PWM striping. This monitor uses low-frequency PWM dimming, especially noticeable below 50% brightness. Since then, I've kept that screen's brightness above 80%.
The FPS Curve Chart Is More Useful Than You Think
The real-time FPS chart in the bottom right corner—many people glance at it and move on, but it actually reveals more than a single number:
If the curve is basically a flat horizontal line with fluctuations within ±2fps, your system is stable, no background interference, browser rendering is clean.
If the curve shows periodic dips with spikes, there's probably a scheduled background task running—auto-save, sync, antivirus scanning. Browser GC can also cause periodic frame-time spikes.
If the curve is consistently low but stable—for example, you bought a 144Hz screen but the curve stays pinned around 60fps—then your system is almost certainly set to 60Hz, or there's a cable bottleneck.
If the curve jumps erratically with huge swings, your laptop might be on battery in power-save mode, or it's thermally throttling, or you have way too many tabs open.
A Few Easy-to-Miss Details
Browser differences. Chrome and Edge have fairly consistent rAF implementation. Firefox may report 1–2fps higher under certain configurations. Safari on macOS behaves similarly to Chrome but throttles background tabs more aggressively. If you're on macOS, use Chrome rather than Safari for testing—the data will be steadier.
Operating system differences. Windows 11 handles high-refresh displays much better than Windows 10, especially in mixed-refresh multi-monitor setups. Windows 10 users who can't get their external high-refresh monitor to hit its rated speed often find that upgrading to Windows 11 solves it. On macOS, ProMotion support has been mature since Monterey, and you rarely need manual intervention. For Linux users, rAF synchronization under Wayland differs from X11, so test results may be off by 1–2Hz—that's expected behavior.
DP or HDMI: which one to pick? Simple rule: if you have both ports, favor DisplayPort. DisplayPort 1.4 has 32.4 Gbps of bandwidth; HDMI 2.0 has 18 Gbps. 4K 144Hz needs roughly 25 Gbps, which HDMI 2.0 simply can't provide—you need DP 1.4 (with DSC compression) or HDMI 2.1. For 1080p, both work fine and the difference is minor.
When connecting an external monitor to a laptop, turn off the built-in display. Many laptop integrated GPUs have limited output capabilities. Driving the internal screen plus an external high-refresh monitor simultaneously can make the iGPU a bottleneck. For testing, keep only the high-refresh screen active—turn off the built-in display and your numbers will be a lot more accurate.
Is a higher refresh rate always better? Going from 60Hz to 120Hz is a massive leap—almost everyone perceives the difference clearly. The jump from 120Hz to 144Hz is much smaller, and from 144Hz to 240Hz even smaller. For most people, 120–144Hz is the sweet spot. Beyond 240Hz mainly benefits competitive FPS players and professional esports athletes; for everyday work and casual gaming, it's hard to feel the difference.
Back to This Tool
When I built it, the core idea was simple and direct—no installation, no Flash (it's 2026, after all), no Java Applets (anyone still remember those?). Open a browser and test.
It won't give you lab-grade oscilloscope precision, but it's more than enough to quickly answer: "What Hz is my monitor actually running at?" If the measured number doesn't match the spec, don't rush to return it—check your system settings, swap the cable, disable power saving, and that'll likely fix it.
One more thing: this test runs entirely locally in your browser. Nothing is uploaded. The FPS you measured, the modes you tried, how long you tested—only you know.
In Summary
Buying a high-refresh monitor is step one. Actually making it run at full speed is step two. A lot of people never finish step two—paying for 144Hz while experiencing 60Hz, completely unaware.
If after reading this you want to test right now—open the screen refresh rate test tool, pick Bouncing Ball mode, run it for 10 seconds, and see if the curve is steady. If the numbers don't match the label, work through the troubleshooting steps above and you'll likely solve it.
After all, you already spent the money. Might as well make it run at full speed.